Understanding Rollups (Elite Users)
After your report is complete, you can choose the 'Rollups' option to add or remove information from your report. Sales Reports will always have the Rollups feature. Sales Distribution Matrixes will only have the Rollups feature if you select 'Enable Rollups' in your report options.
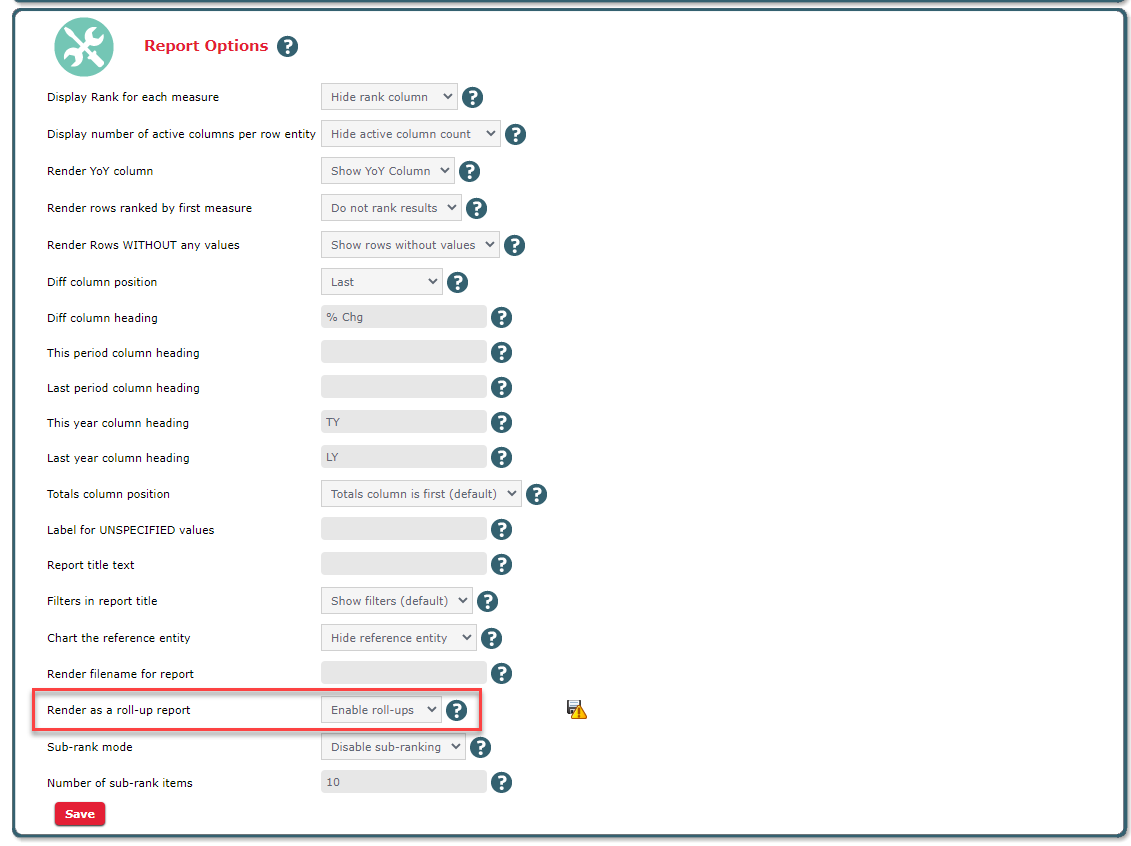
To enable rollups, go to your Report Options picker and click 'Enable Rollups'. Once you have enabled the rollups, click the play button to run your report.
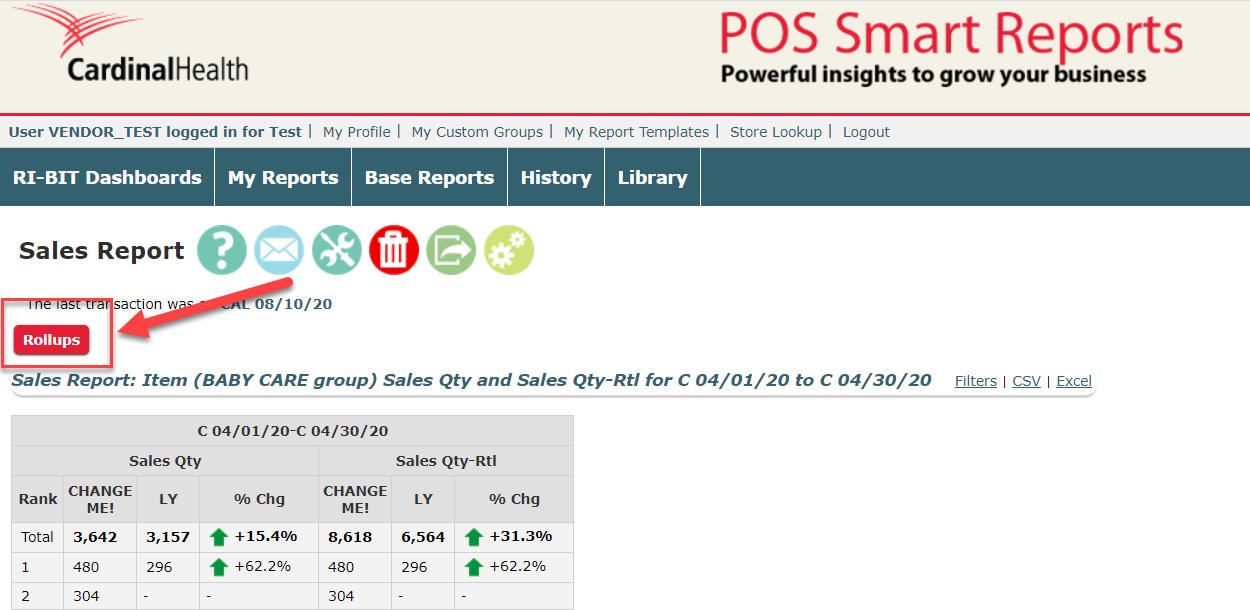
You will find the Rollups button above your report's results:
Clicking on the 'Rollups' button will bring up a new window, where you can select the rollups you would like to include in your report. Depending on the type of report (Sales, Scan, Inventory, etc.), you may have more or less rollup options available.
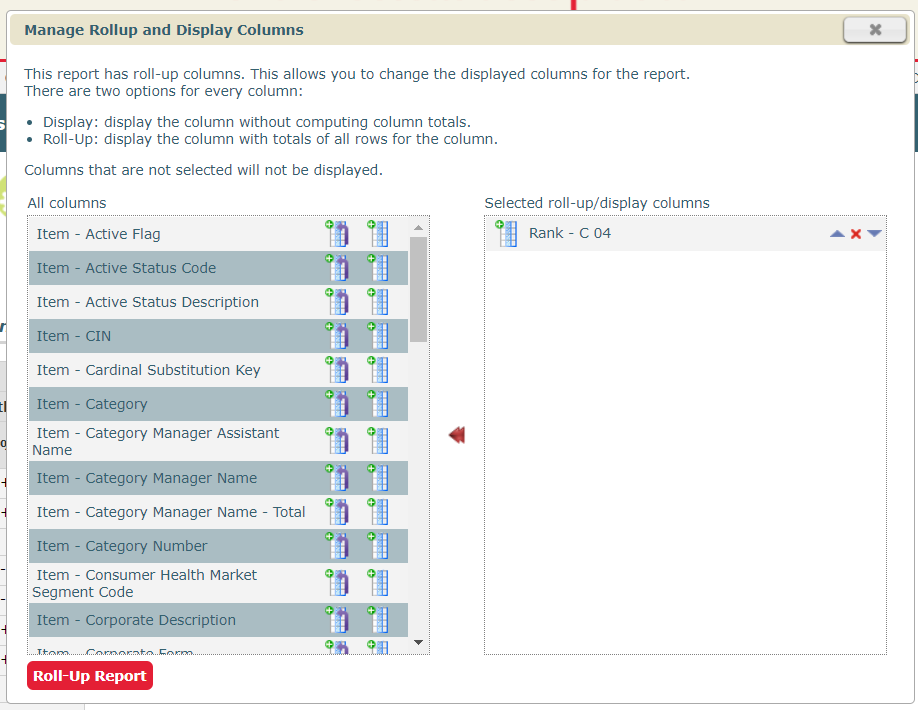
In the Rollups window, all available rollups that are not in your report will be located in the left column. All rollups that are currently in your report are located in the right column.
Adding a Rollup:
You have two options when adding a rollup:
-
 Add rollup as a subtotal within your report and as an additional column in your report
 -
 Add rollup as an additional column in your report
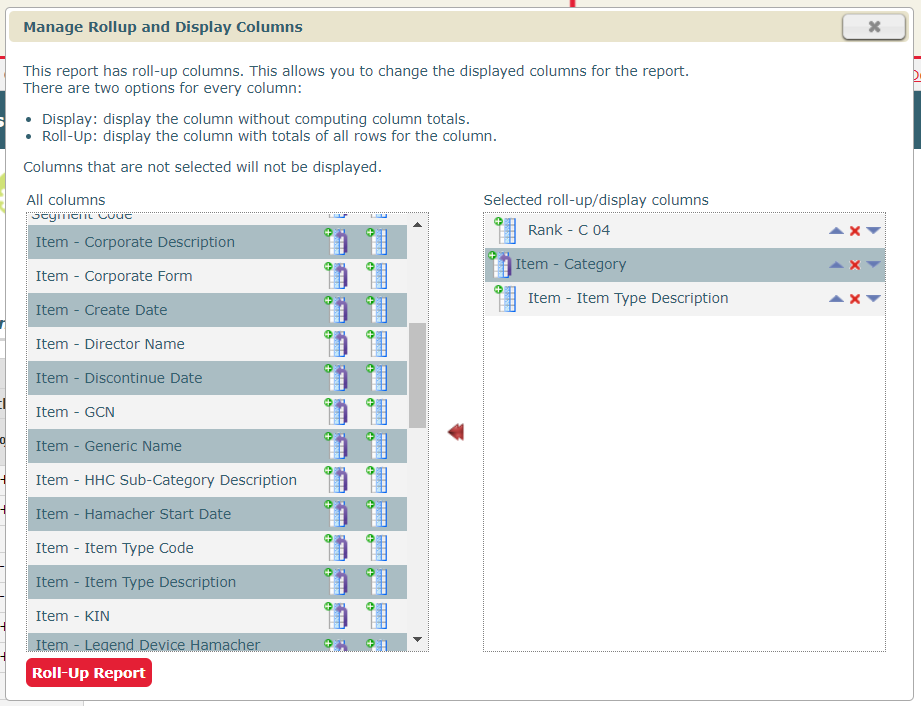
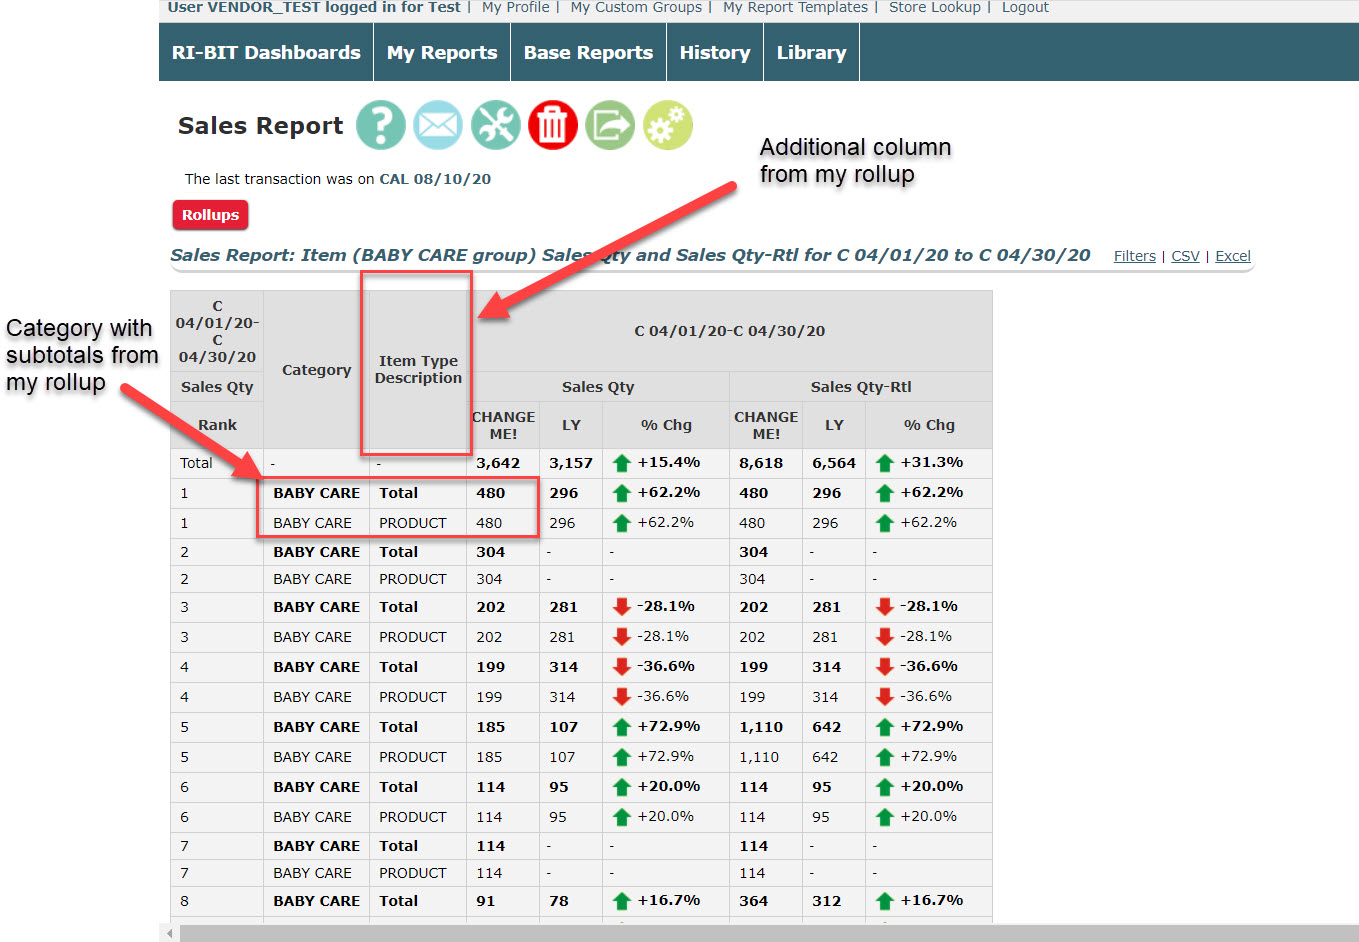
In my screenshot above, I have selected 3 rollups to add to my report. The first selection is to add the item's ranking as an additional column. Then, I added Category as a subtotal. The third selection is to add the Item Description as another additional column. In my screenshot below, you can see the difference between my rollup selections:
Removing/Editing a Selected Rollup:
If there is a rollup that you wish to remove from your report, click the 'x' icon next to the rollup. Use the up and down arrows to adjust your rollup's location in the report.